

How To Have A White Background In Photoshop
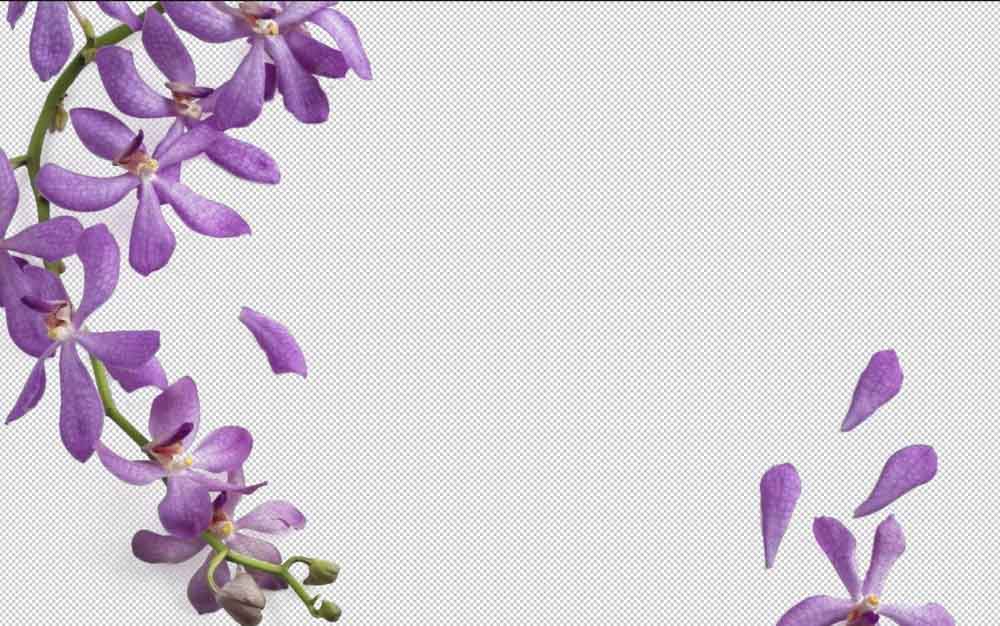
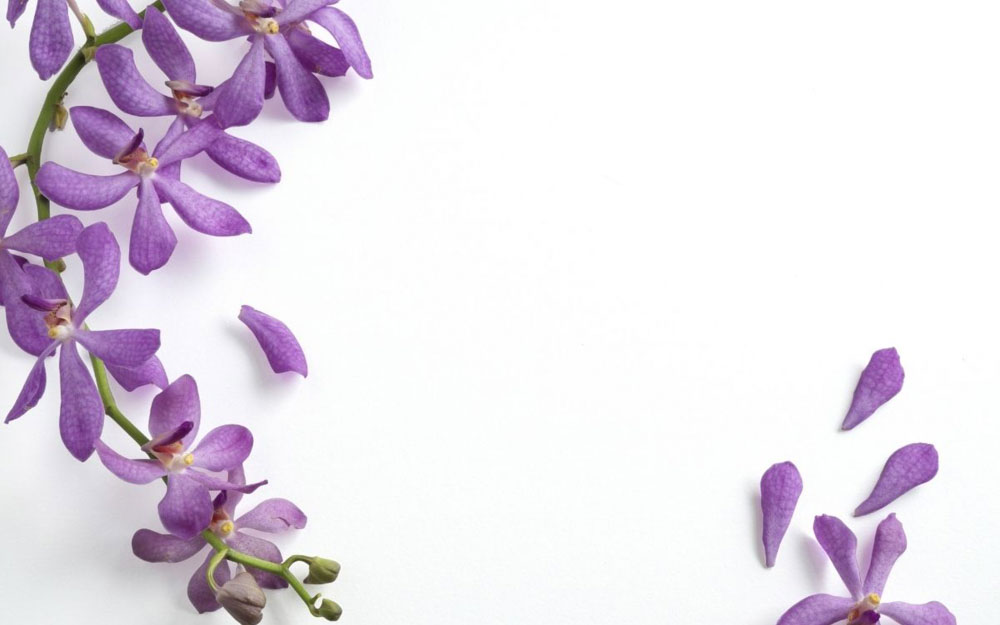
At present, if you're like me, you have a photo with a white groundwork but aren't sure the easiest ways to remove it. These white backgrounds tin can be pesky to deal with from studio portraits, product photos, graphics, and logos. When I first tried to remove a white background and make it transparent, I spent far too long making the cut out perfect. The problem was, I didn't realize how much FASTER I could remove these backgrounds if I were using the proper techniques. So, to help you save time and skip to white background removal glory here'south 1 super fast method to attempt.
To quickly remove a white groundwork in Photoshop, select your image layer, and then open up the Properties Panel by going to Window > Properties. Scroll to the bottom of the properties to locate the "Remove Background" push button. Now click on this push button to remove the white background from your image.
This hidden tool is just one of many incredibly like shooting fish in a barrel ways to remove backgrounds in Photoshop. To help yous become a better agreement of this process, plus 4 other backup techniques, allow's get into the nitty-gritty.
How To Remove White Backgrounds In Photoshop
Removing A White Background Using The "Remove Background" Push
Before diving into this one further, it's important to note that this feature is only bachelor in Photoshop CC 2020 and newer. Therefore, if you are using an older version of the program, you'll want to skip to the next background removal option in the list.
This little button is hidden in the properties panel and automatically creates a selection and applies it to a layer mask. This way, yous can cut out an image and make a white background transparent with a single click. No tricky manual selections are required!
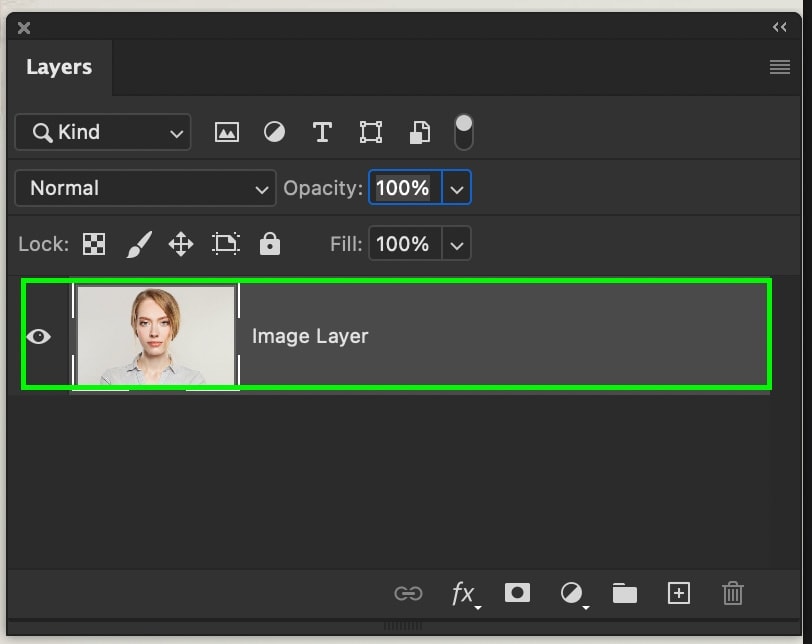
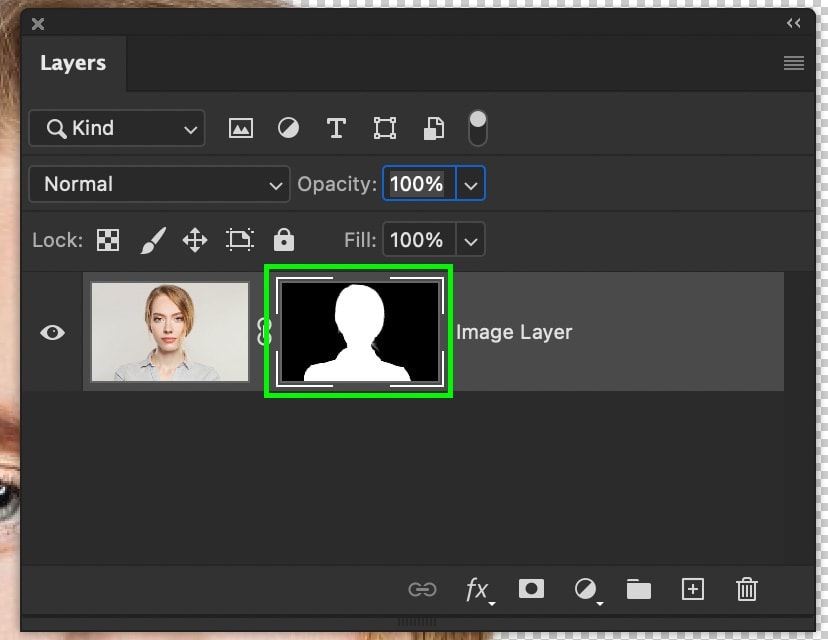
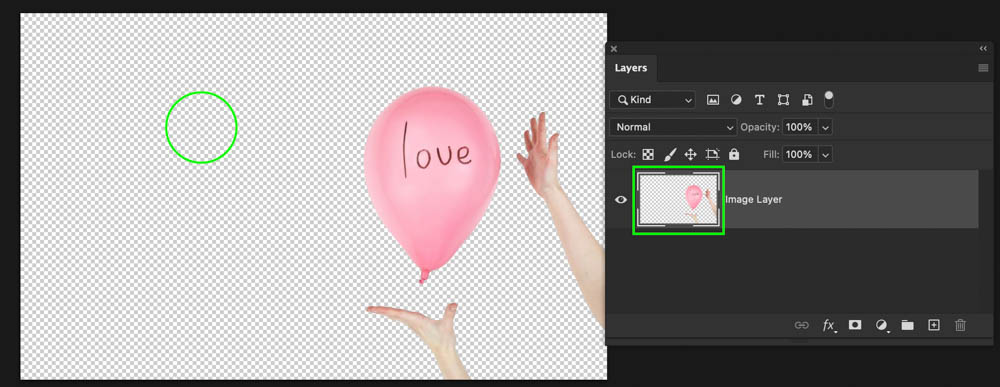
Stride one: Select Your Image Layer
First, brand sure your image layer is selected in your Layers Console and unlocked.
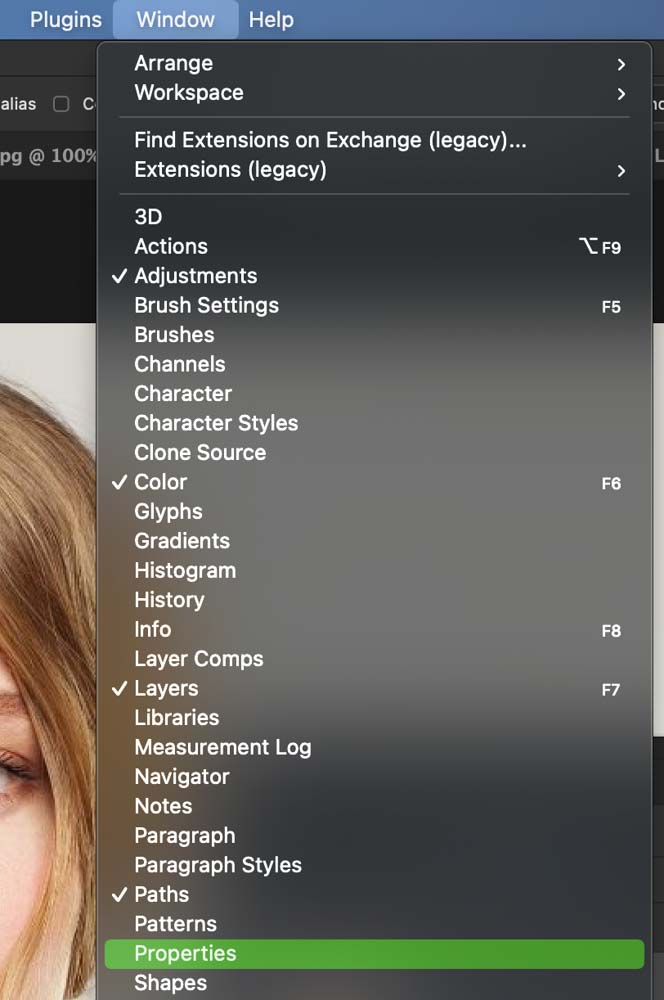
Pace 2: Open The Properties Console
Now go up to your backdrop panel. If you don't see this, get up to Window > Properties to reveal the panel.
Stride 3: Click On "Remove Background"
Scrolling to the bottom of your properties console, look for the Quick Deportment options. Inside, you lot'll see two buttons called "Remove Background" and "Select Subject."
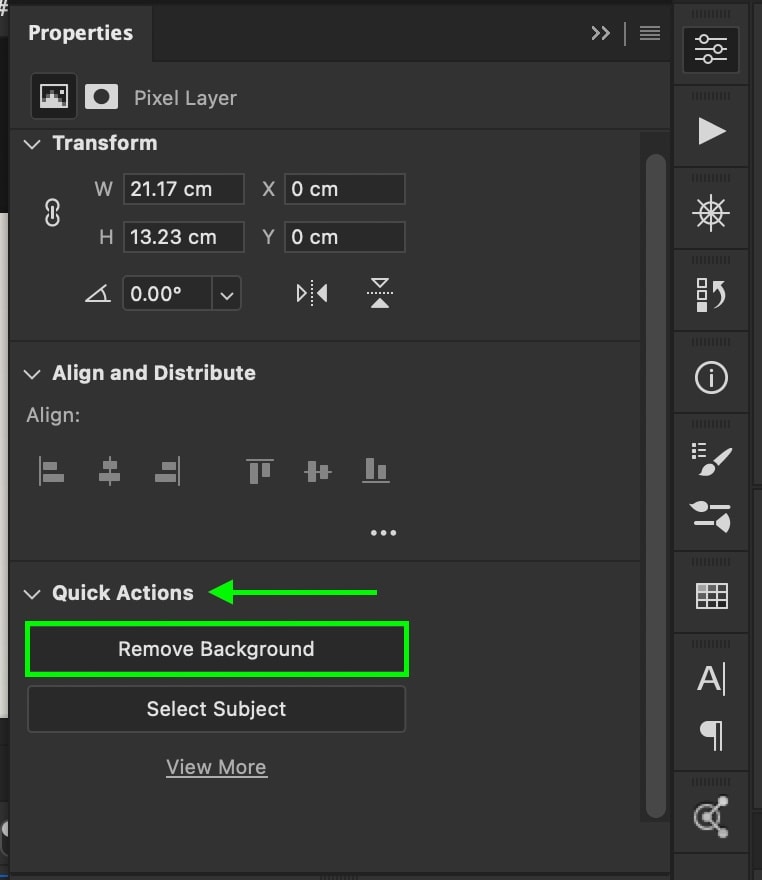
The Remove Background button will create a selection around your subject, and so apply that option to a layer mask. The result is a cut out image with a transparent background in a single click!
On the other hand, the Select Subject push creates an automatic selection effectually your field of study without applying information technology to a mask. This way, you tin can quickly refine the selection in case something gets messed upwards in the process.
Since I want the fastest way possible with the fewest clicks, I'll click on the "Remove Background" push button.
Photoshop will work its magic and automatically create a choice around your bailiwick and remove the white groundwork.
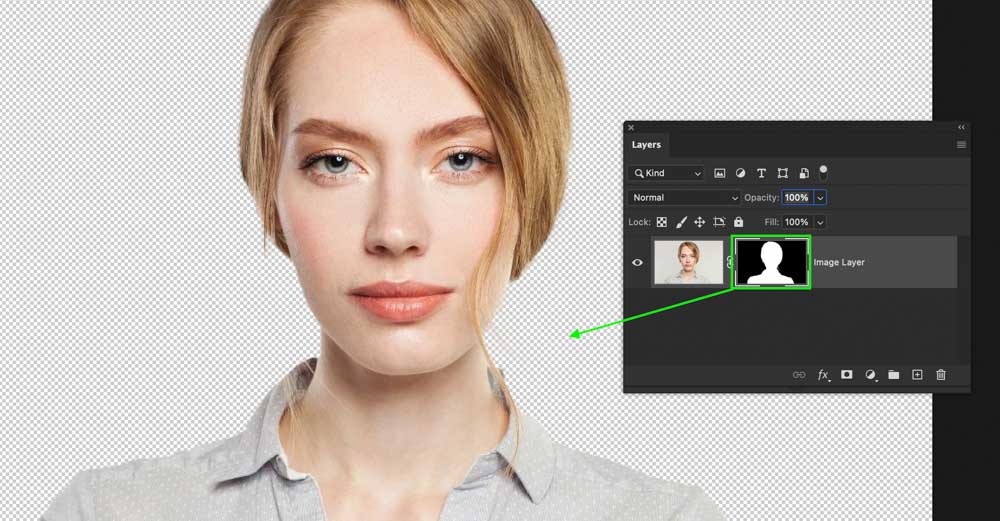
Pace 4: Refine The Newly Created Layer Mask If Needed
In some cases, you may find that Photoshop made a mistake and removed role of your image that you wanted to continue. This can be easily adjusted at any time with your layer mask.
Commencement, make sure your layer mask is selected by clicking on it.
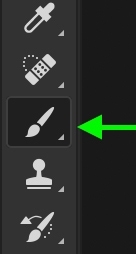
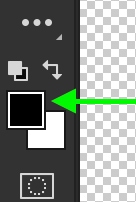
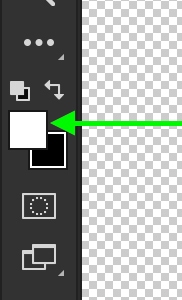
Then access your brush tool (B) and set white to your foreground color to add back part of your image. If y'all want to remove boosted areas from the photo, set the foreground color to black instead.
Now pigment over your image to quickly refine your layer mask and add back any of import bits that Photoshop might accept accidentally removed.
Step 5: All Done!
And now you're left with a transparent white background in a single click! How easy was that?


How To Remove A White Groundwork With The Magic Wand Tool
To remove a white background using the Magic Wand Tool, select the tool (W) and click on your prototype layer. In the tool settings, set the sample size to "Point Sample," the tolerance to 25, and check off Anti-alias. Now click the white groundwork to select it and press Delete to brand information technology transparent.
The Magic Wand Tool is fantastic at making selections based on like colors in your images. In the instance of removing a white background, information technology'southward another amazing tool to utilize. The just trouble is that it requires some specific settings to work just right.
I outline everything you need to know for using the Magic Wand Tool to remove a white background in the steps below.
Step ane: Select The Magic Wand Tool
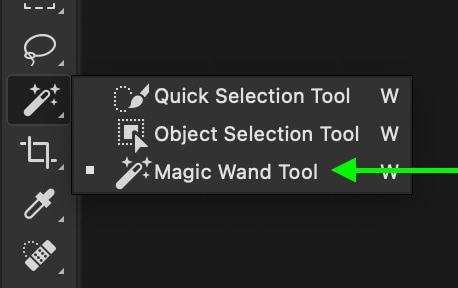
To access the Magic Wand Tool, simply press W on your keyboard or find it in your toolbar.
If you exercise not see it, it may be hidden nether other tools such as the quick selection or object choice tools. Past clicking and property on the tool icon, your other tool options volition appear. Select the Magic Wand Tool.
Stride ii: Set up The Sample Size To "Point Sample"
With your tool selected, go to the upper settings bar and fix the Sample Size to "Indicate Sample" or "5 By 5 Boilerplate." These options let you to choose how much of your sampled color will be taken into consideration.

If y'all take a graphic with a solid white groundwork, "point sample" will piece of work best. All the same, if you lot have a white background taken in a studio with unlike shades of white, a 5 by 5 average will provide a better selection.
Footstep 3: Set The Tolerance To 25
Next, set the tolerance to 25. This is an excellent in-between value that allows some wiggle room from the original sampled color, which will exist white in this case. If you have more shades of white in your groundwork, it may be worthwhile to bump this to l or 60 instead.

Pace 4: Bank check Off Anti-alias
In the final setting option, make sure Anti-alias is checked off, while the two remaining options are left unchecked.

Step 5: Click On The White Background To Create A Selection
Now it's fourth dimension for the fun part. With all your settings in society, click on your white background to create a selection. Photoshop will sample the colors around where you clicked and find similar colors in your image to add to the option. Since white is a pretty like shooting fish in a barrel color to select, Photoshop does a great job creating an authentic choice.

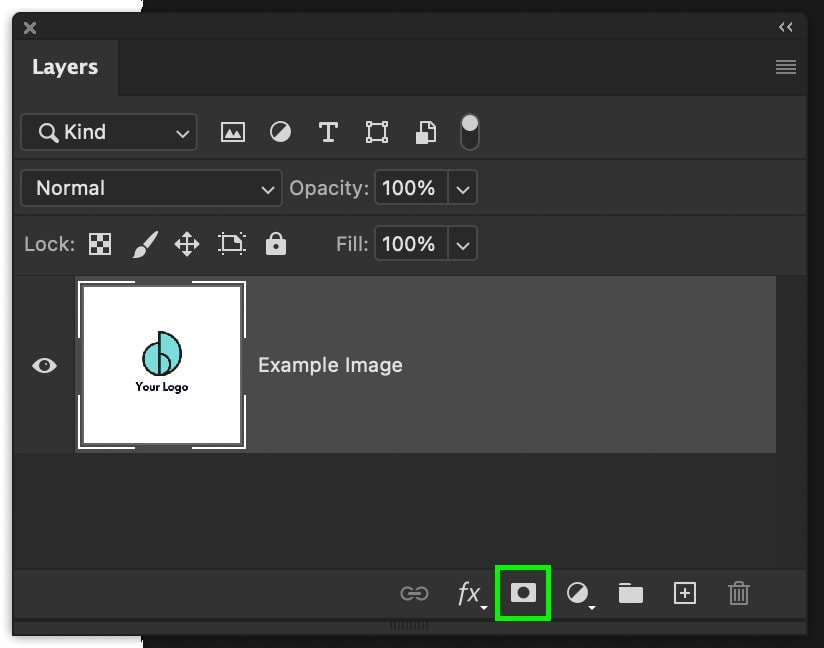
Stride 6: Click The Layer Mask Icon To Apply Your Choice
Since you lot're left with an agile option, it's time to add that to a layer mask to brand the white groundwork transparent.
With your image layer selected, click on the layer mask icon at the bottom of the Layers Panel.
Now press Command or Control + I to invert your layer mask and make the subject visible again.
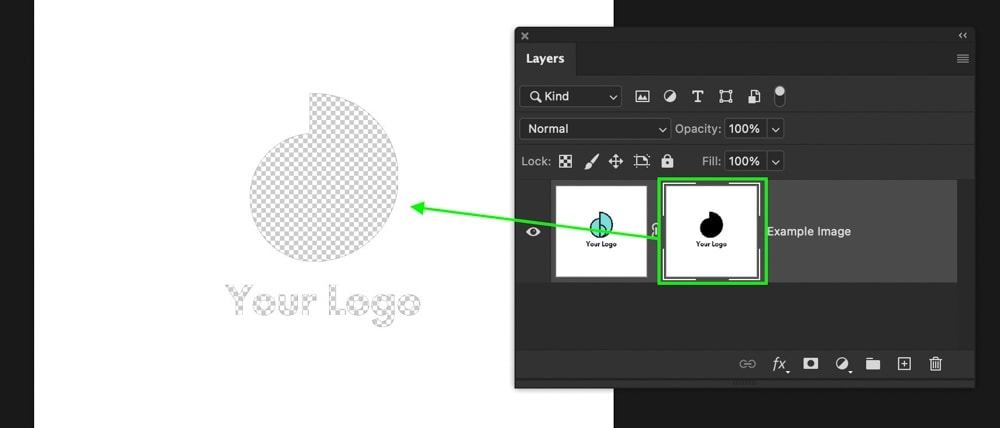
At present your selection volition be added to your mask, and the background will be removed entirely. The beauty of layer masks is that y'all can get back and edit them afterwards on if you demand!
Footstep 7: Admire Your Transparent Background!
After post-obit these steps, you take successfully removed your white background and make it transparent. Time to savor in the glory of your fine Photoshopping skills!


How To Remove A White Groundwork Using Select Color
The select color range tool is perfect for removing all of one color in a photo, including white. With the steps outlined beneath, you lot can chop-chop make a white background transparent in just a few clicks.
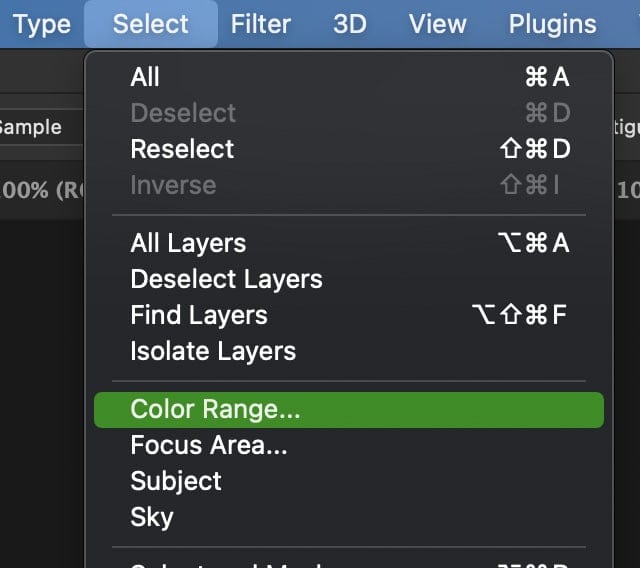
Step 1: Go To Select > Color Range
To showtime things off, with your image layer selected, become to Select > Colour Range.
Step 2: Click The White Background To Sample It
In the dialogue box that appears, you will automatically have the eyedropper tool selected. What you need to do now is sample the color yous desire to create a selection effectually. In this example, that is white.
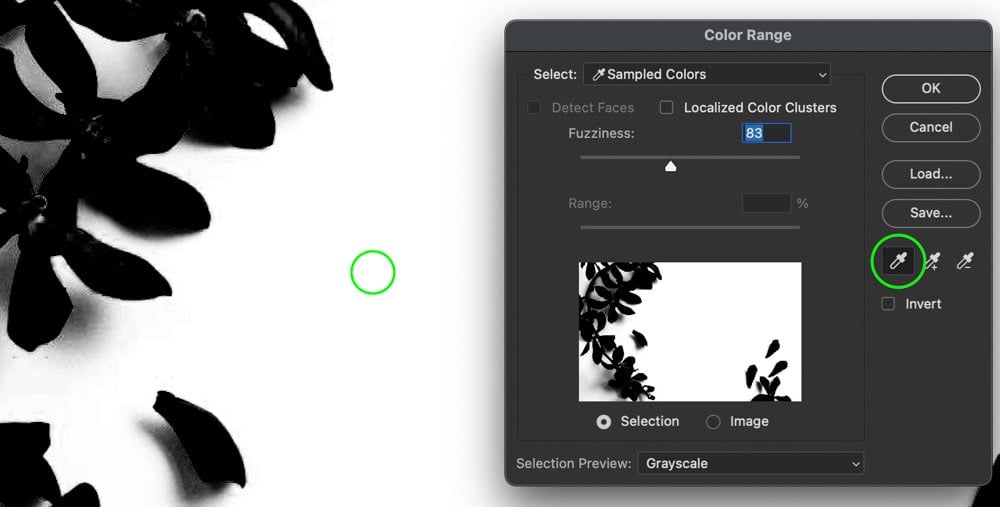
Clicking on the white background, the selection preview volition change to show the white groundwork as entirely white. This selection preview works the aforementioned equally a layer mask where white is 100% visible while blackness is 100% transparent. In my example, you lot can come across that the entire groundwork is now white.
For simplicity's sake, sampling the white background to arrive white will allow for an easier option process in afterwards steps.
Step 3: Add Or Subtract From Your Sample To Refine It
If you have a perfect choice later on simply one sample, and then great! Move on to the next step. However, if your selection isn't looking quite right (the background isn't completely white), you need to do some refining.
By default, clicking in a new area will reset your entire sample. Once y'all take a good general sample of the white background, you can add or subtract from this sample using a couple of piece of cake keyboard shortcuts.
To subtract from your sample, press Alt or Choice and click on the colors yous don't want Photoshop to sample.
To add to your sample, press Shift and click on the shades of white Photoshop may have missed.
Stride 4: Adjust The Fuzziness Slider
As a concluding method of refinements, the fuzziness slider controls the tolerance of which shades are added to your sample. If yous have multiple shades of white, increasing the fuzziness slider will assistance add all these shades to your selection.
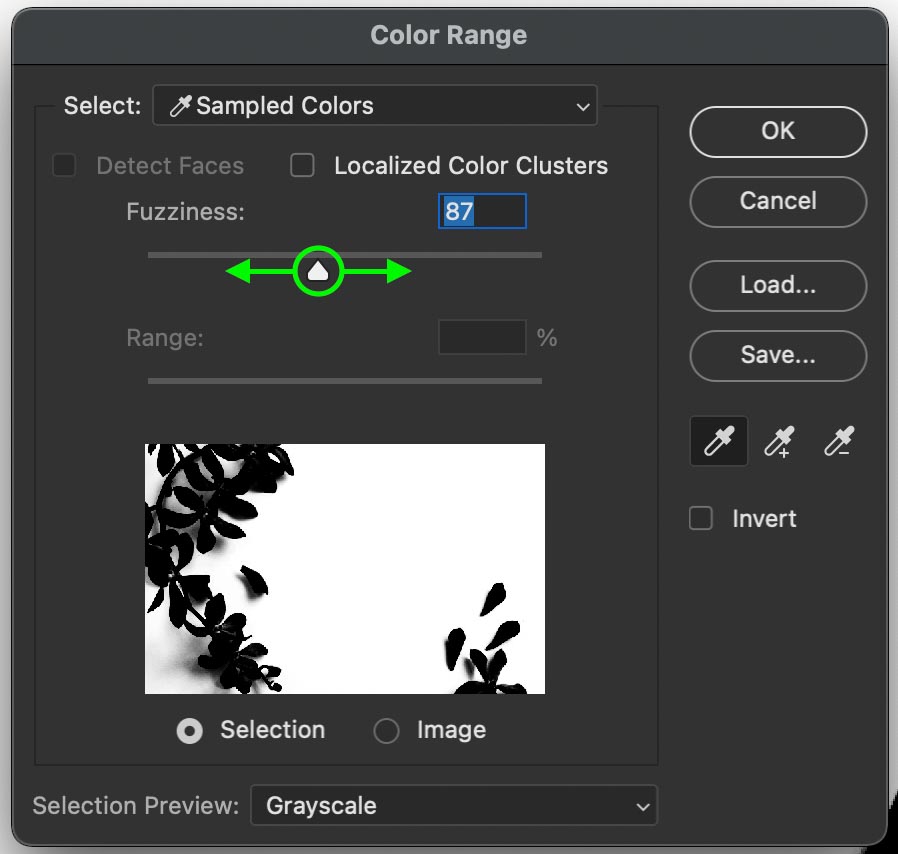
I like to start by setting the fuzziness to 0 and and so working my style up from there. This way, you lot tin can see exactly what's going on without any guesswork. Of form, every paradigm volition require a different fuzziness value, so click and drag on this slider until you find what works for you.
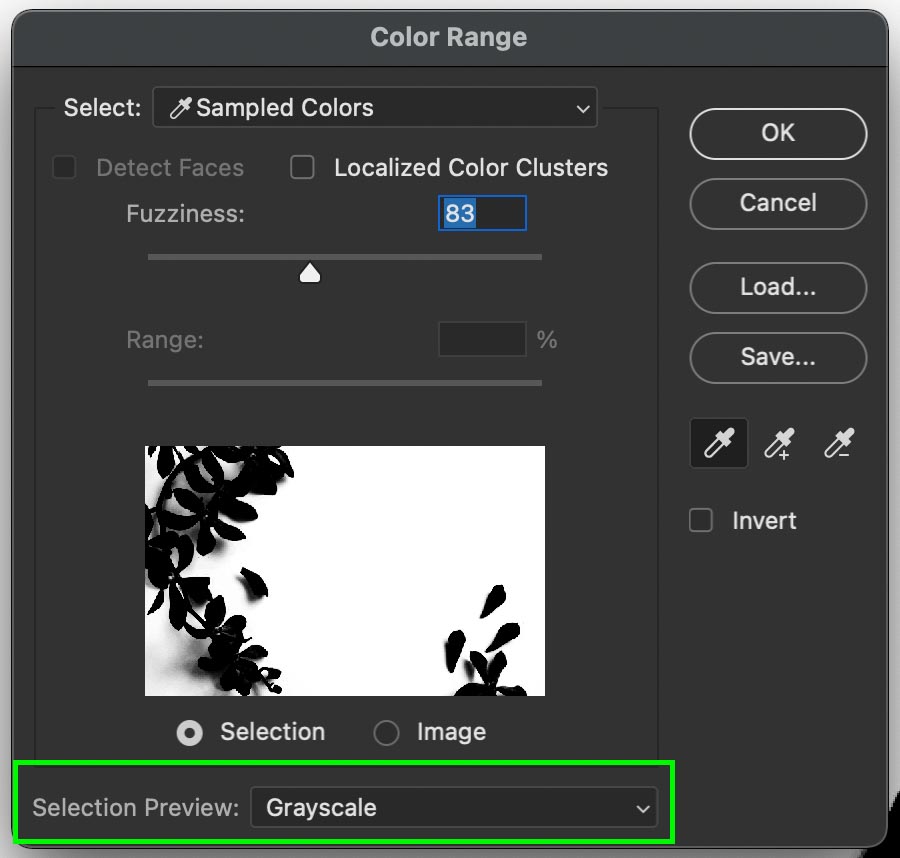
A beneficial trick in this pace is to set your Pick Preview to Grayscale, so you are viewing what is selected. For now, brand sure everything that you don't desire to delete is blackness.
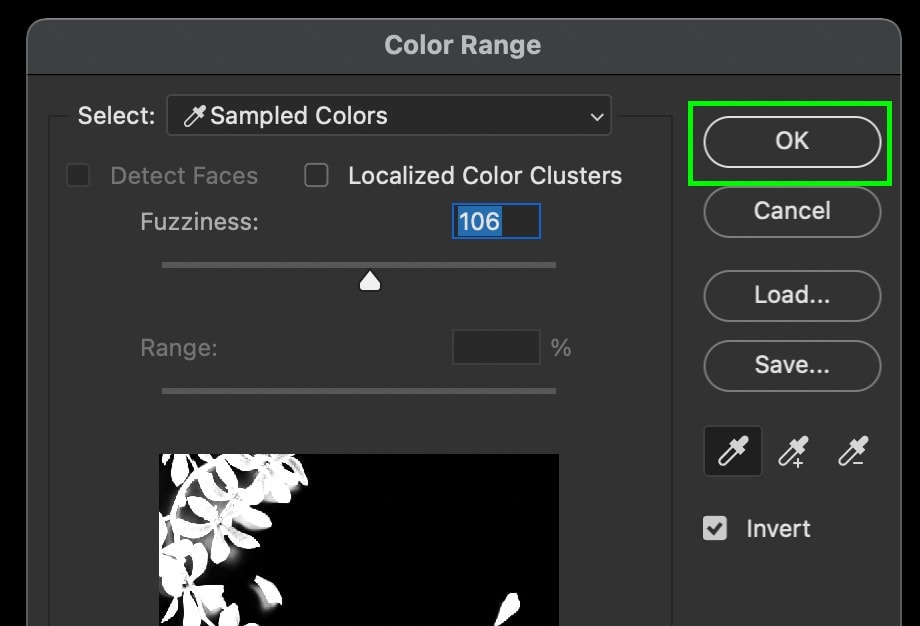
Step five: Invert Your Selection Area
With your sample settings in club and the white background fully sampled, click the invert option.

This will switch the colors around so the white background will now become removed, while your subject will remain visible on your selection!
Step 6: Press OK To Create A Option
Now click OK to plow your samples into a new choice.
Step 7: Add The Selection To A Layer Mask
With your choice active, click on your prototype layer and utilize a layer mask.

Your selection will exist practical to the layer mask and make the white groundwork transparent. Merely like earlier, if y'all need to adjust your mask later on, you tin hands do so using the Castor Tool and painting black (transparent) or white (visible) onto the mask.
Step 8: You're Done!
Now you have successfully learned another fast and like shooting fish in a barrel style to remove white backgrounds in Photoshop. This method isn't but helpful for removing a white background but also works for colored backgrounds too!
How To Remove A White Groundwork With The Magic Eraser Tool
The Magic Eraser Tool is similar to the Magic Wand Tool, except information technology does non work non-destructively. Rather than creating a choice to add to a layer mask, this tool permanently deletes the groundwork. This is uncommonly useful if you don't want to deal with masks and want a straightforward arroyo to background removal.
Step 1: Select The Magic Eraser Tool
To access the magic eraser tool, press Due east on your keyboard. If this doesn't select the proper tool, simply click and agree on the eraser tool in your toolbar to reveal the magic eraser tool.

Footstep ii: Set The Tolerance To 25 Or College
With the tool active, go to the upper setting bar and change the tolerance to 25 or higher. If you lot have more than shades of white in your image, a higher tolerance will achieve better results.

Step three: Check Off Anti-alias
Side by side, check off Anti-allonym and leave the other settings unchecked.

Pace four: Set up The Opacity To 100%
Finally, gear up the opacity to 100% if it isn't already. Without 100% opacity, your background erasing adjustments volition but partly remove the white groundwork.

Step 5: Click On The White Background To Erase It
With all your settings in order and your image layer selected, click on the white background to sample and delete information technology from your layer. Each time you click Photoshop will sample the color nether your cursor and find like colors to remove. Since this tool deletes your background, it's important to recall that all these changes are permanent.
If you accidentally delete something you wanted to keep, printing Command + Z (Mac) or Command + Z (PC) to disengage the activeness.
At present y'all have successfully removed the white groundwork by erasing it directly from your layer!


How To Remove A White Background With Channels In Photoshop
The final method for removing a white background in Photoshop is with channels. This method works well for all kinds of images merely really shines with complicated subjects. For example, if you have a graphic with a lot of text or a portrait with flyaway hairs, this technique volition provide height-quality selections around those complex edges.
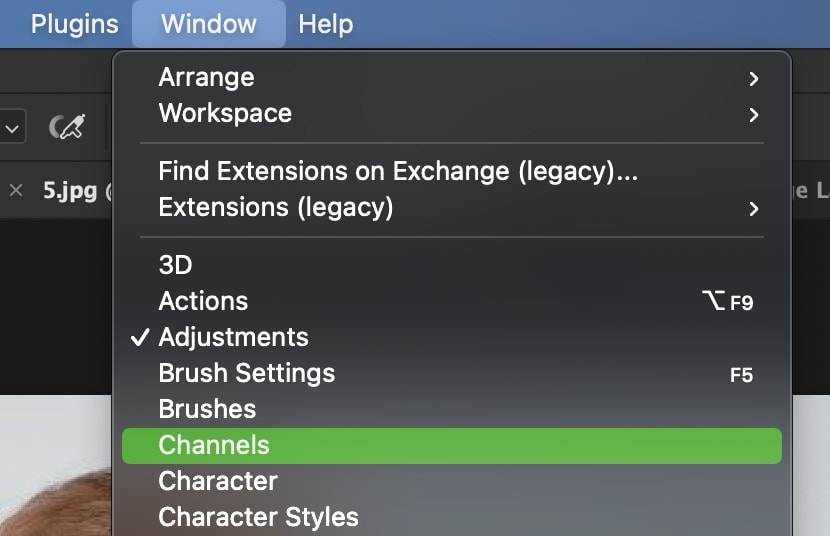
Step 1: Access The Channels Console
First, admission the Channels Panel, which tin exist constitute beside your Layers in most workspaces.
If you practise not come across information technology, go to Window > Channels to reveal it.
Pace 2: Duplicate The Channel With The Near Contrast
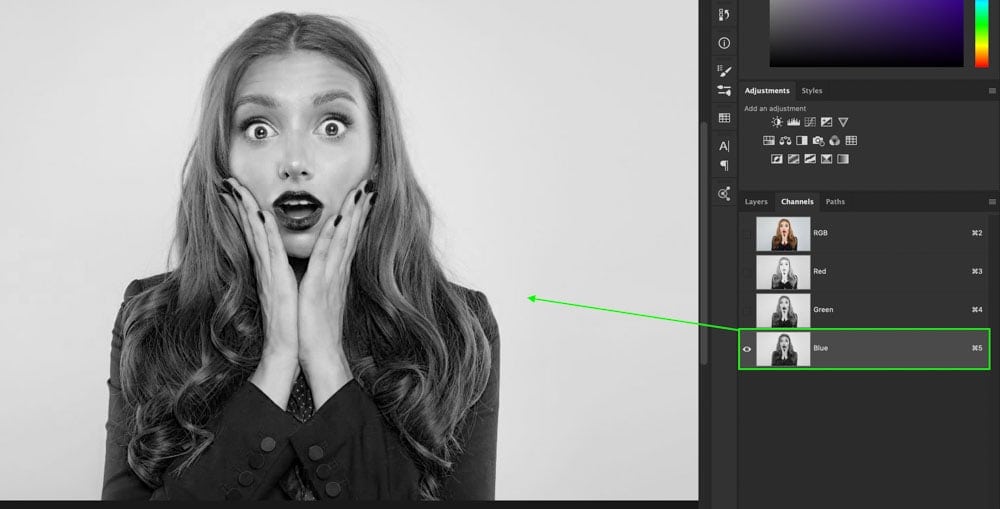
In the Channels panel, you will see three dissimilar color channels called Red, Green, and Blue. Each channel will have a varying amount of contrast depending on the hues in your detail paradigm. By clicking between these channels, you tin can easily view the contrast in each of them.
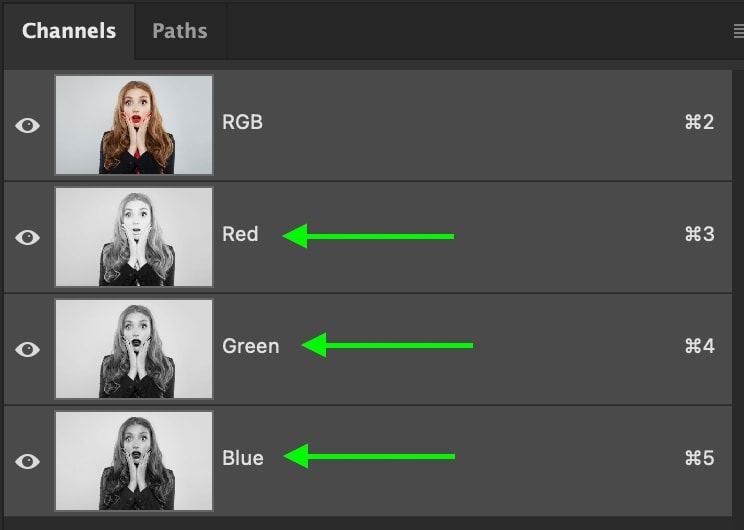
Afterwards browsing through your options, select the channel that has the most contrast. In other words, the aqueduct with the darkest blacks and the whitest whites. This is important because you will use this dissimilarity to create a selection and remove the white background, so the more, the merrier!
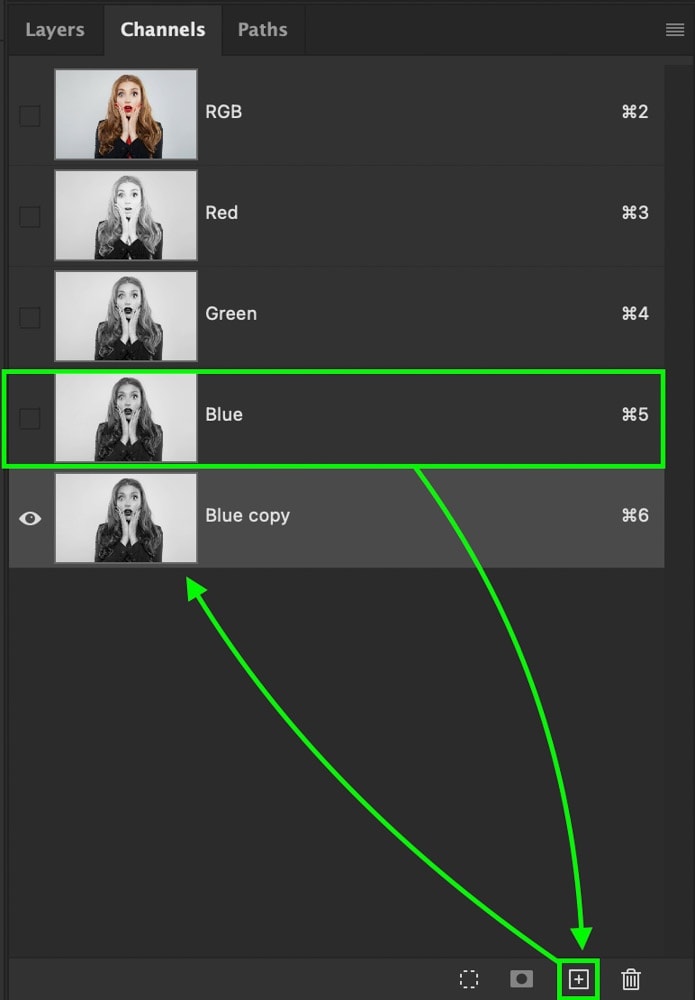
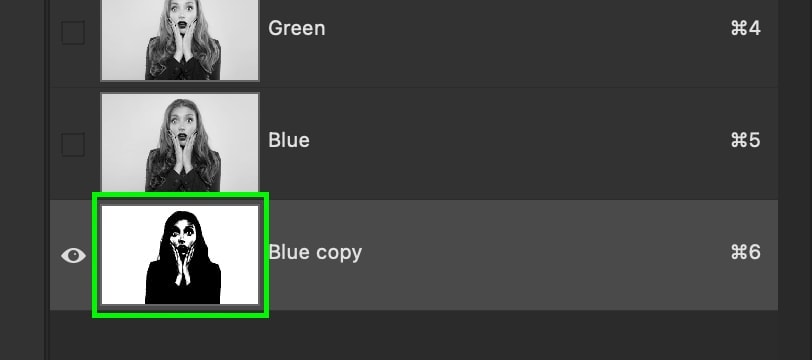
Once yous have identified the channel with the most dissimilarity, click and elevate it down to the new layer icon to indistinguishable information technology. Now yous will have a channel re-create layer that you can begin to piece of work with in the next step.
Footstep 3: Add A Levels Adjustment To Your Duplicated Aqueduct
With the indistinguishable channel layer selected, press Command + L (Mac) or Command + L (PC) to apply a levels adjustments. In the levels dialogue box that appears, drag the shadows right, and the highlights left.
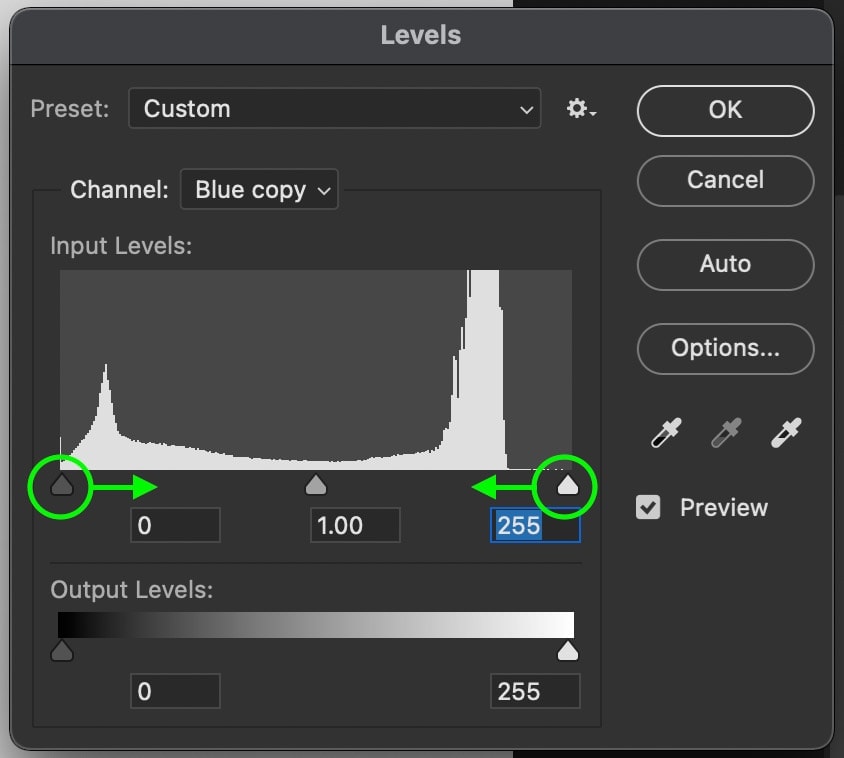
The goal is to add more contrast to your photograph until your groundwork is completely white and your subject is black. In some cases you won't exist able to do this without white or grey spots, so merely get information technology as skillful as yous tin.You tin can touch this up later!
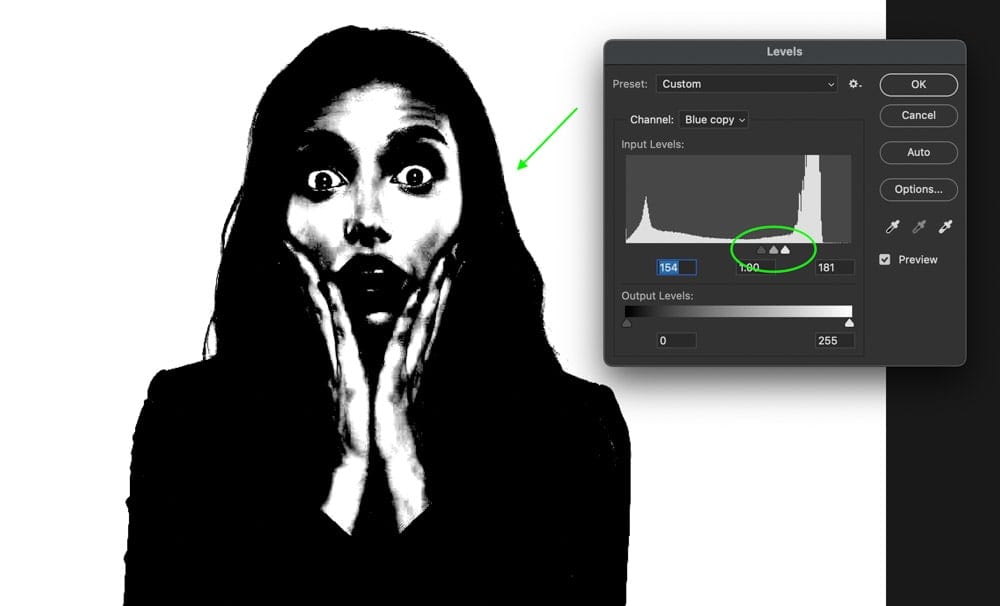
Once yous have constitute the corporeality of levels adjusting needed for your prototype, click OK to apply your changes.
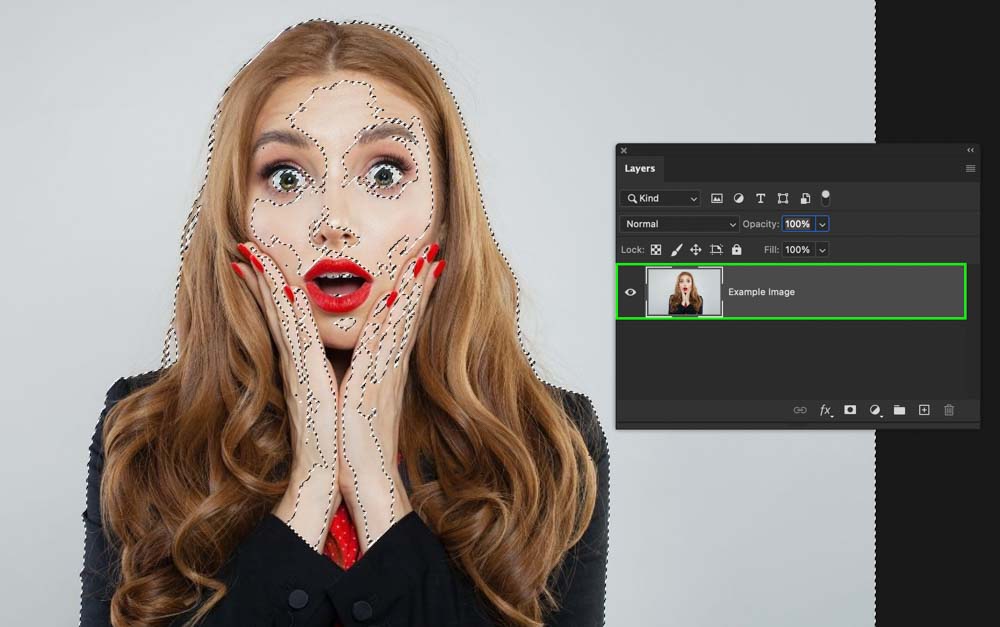
Step 4: Plow The Duplicated Channel Into A Selection
Now you demand to turn your duplicated channel into a option. To exercise this, simply hold Control or Command and click on your aqueduct layer thumbnail. This volition take the black and white in your channel and turn information technology into a selection.
Step 5: Utilize The Selection Onto A Layer Mask
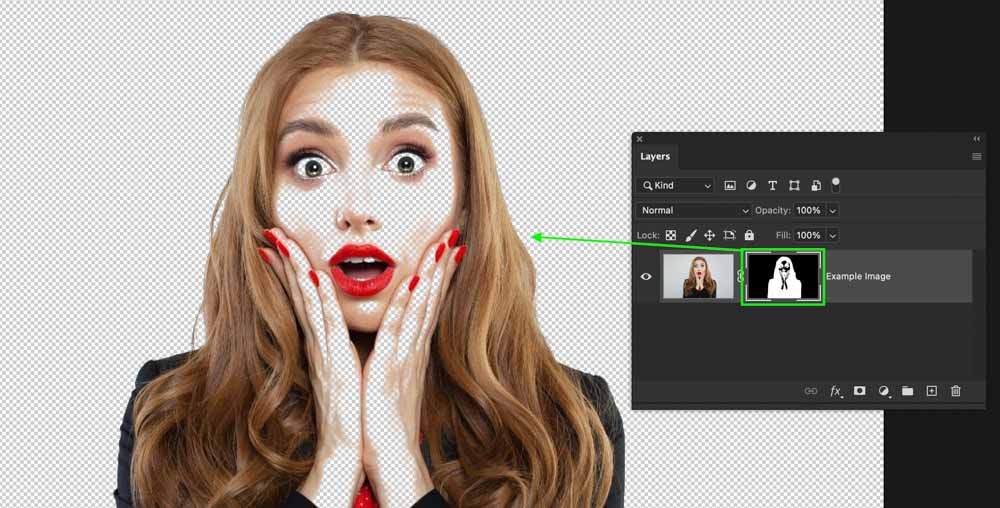
With your choice active, get dorsum to your Layers Panel and click on your prototype layer. Then click on the layer mask icon to apply the selection onto a mask.
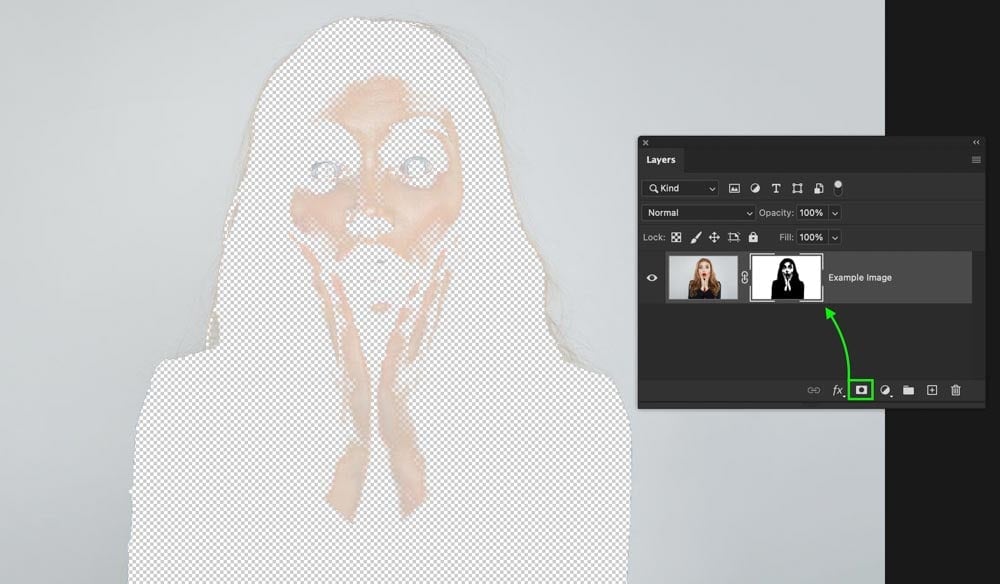
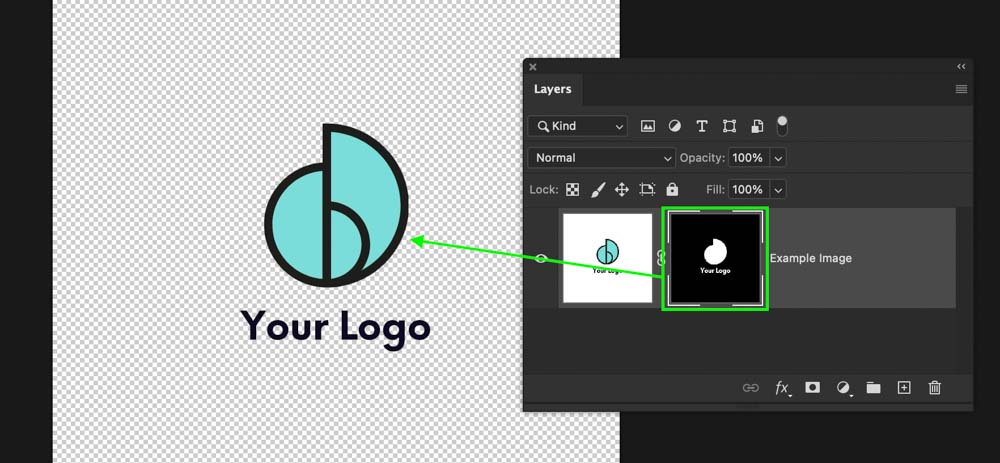
At present press Command + I (Mac) or Control + I (PC) with the layer mask selected to invert your mask. This volition remove the white background.
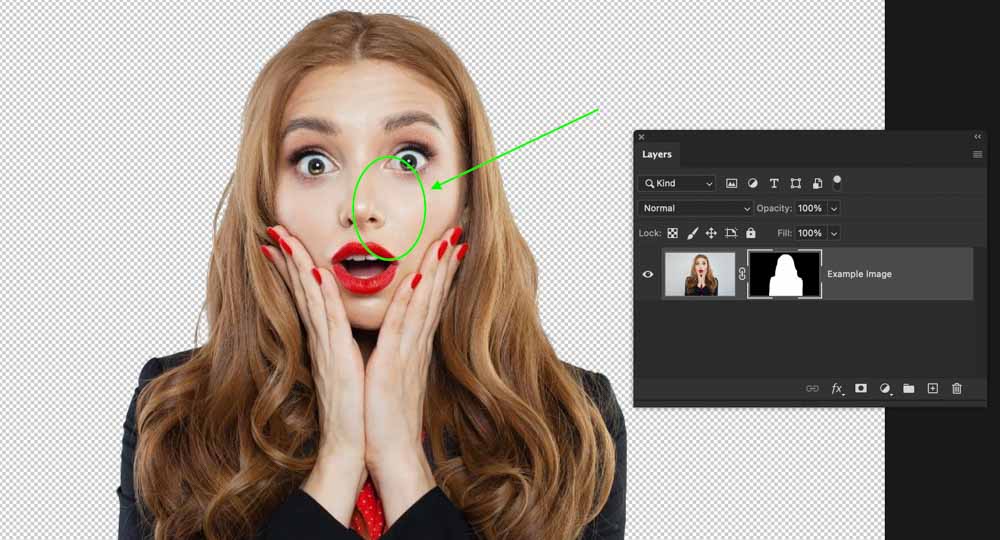
If you have an prototype like mine, at that place are transparent areas left over. Luckily this can exist touched upwardly by selecting the Castor Tool (B) and setting your foreground color to white. Now paint over the transparent areas of your subject to restore the pixels and remove the transparency.
Now you take mastered a 5th mode of removing a white background from a photo in Photoshop!


How To Export Your Image With A Transparent Background
Now that you have made your white background transparent, you probably desire to export your photo with a transparent background. Luckily exporting to PNG can exist washed in seconds!
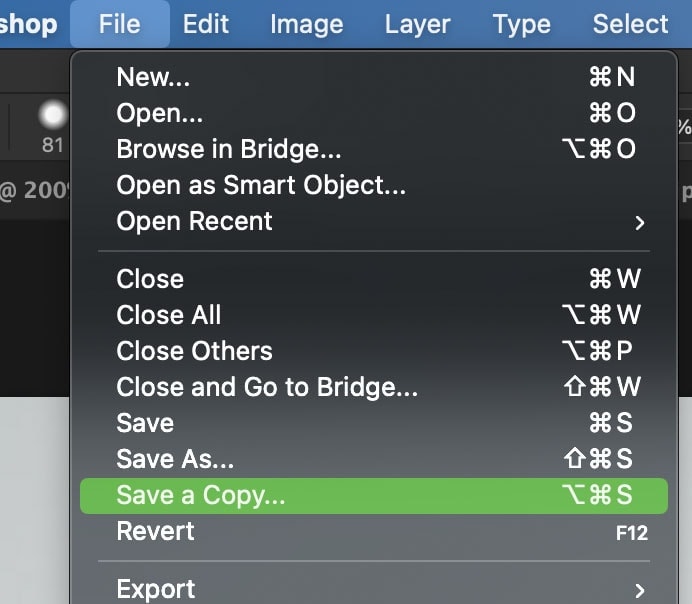
Later on y'all're happy with your background removal, become to File > Save A Re-create.
And then set your file format to PNG.
And pick a location to save your file on your computer.
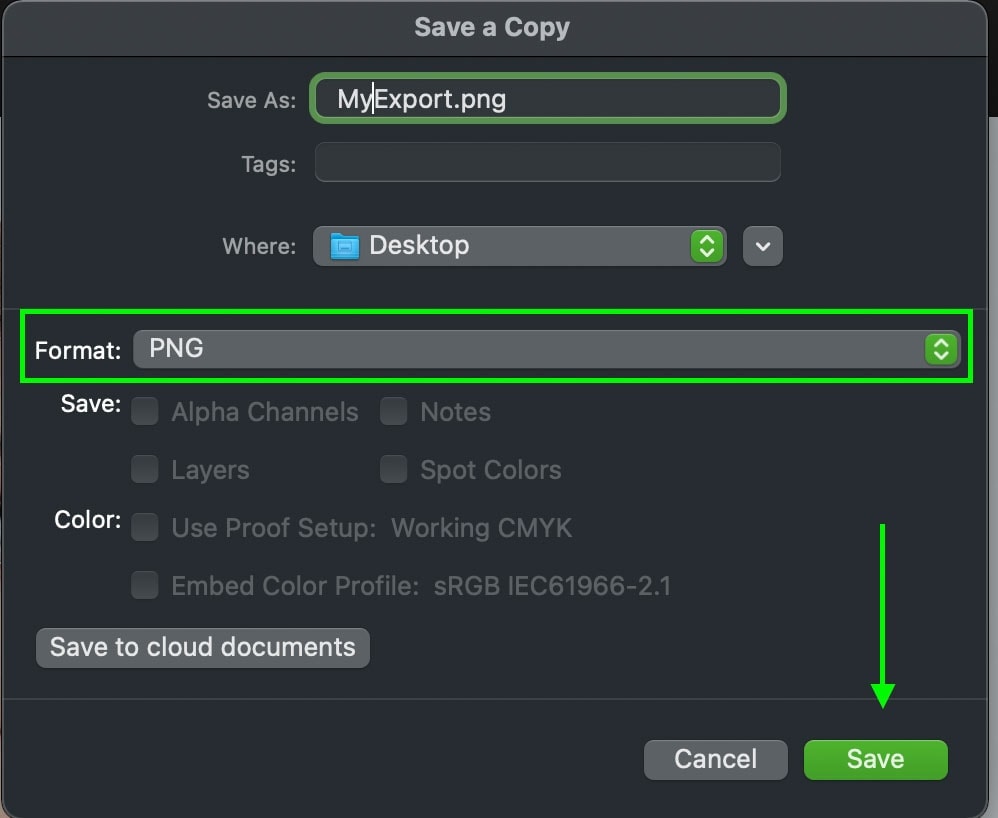
Now click Salvage to export your photo as a PNG prototype which will preserve the transparent background. Now yous can utilise your cutting-out image in other projects without worrying virtually that pesky white groundwork!
Happy Editing!
Brendan 🙂
Source: https://www.bwillcreative.com/how-to-remove-a-white-background-in-photoshop/
Posted by: samuelthelle.blogspot.com
0 Response to "How To Have A White Background In Photoshop"
Post a Comment